
Architectural plywood connects the grain, panel rhythm and joinery details across an interior. Start with a room photo, elevation or finish reference. We manufacture plywood and MDF substrates with decorative facings and help choose the construction, matching and prepared sizes for your design. A sample corner or junction brings the finish into focus while the layout and installation details develop.
Natural oak plywood Natural veneer MDF Birch plywood
Choose the face and substrate for your interior
“Architectural plywood” describes an intended design use, not a single universal product grade. State whether the visible face is birch, a decorative veneer, paint or a laminate, and identify the core separately. OSB, compact laminate and veneer-faced plywood are different materials; performance claims should follow the product actually specified.
Start with the purpose of the lining. Is it a decorative wall, a removable service panel, a ceiling or part of a tested acoustic system? Each calls for different information. Include any attached screen or shelf in the support design so the decorative panel and fixings have a clear role.
Find the panel rhythm across the wall
Show panel sizes, grain direction, joint lines, perimeter margins and openings on the elevation. Consider the view from the entrance as well as the view directly in front of the wall. A narrow strip at one end can look accidental even when every full sheet is individually attractive.
For an illustrative 3,600 mm-wide wall with three equal panels, two 6 mm joints and two 10 mm perimeter allowances, the panel width would be (3,600 − 12 − 20) ÷ 3 = 1,189.3 mm before agreeing fabrication rounding. These dimensions demonstrate layout arithmetic only; they are not a prescribed movement allowance. Confirm the joint and fixing design for the actual system.
Check the site dimensions before releasing the cutting schedule. Include the junction with skirting, ceiling trims and door frames so the fabricator does not have to resolve the design by trimming an important face on site.
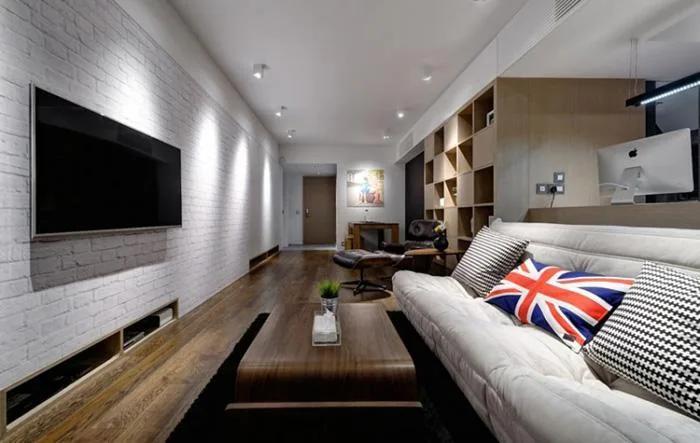
Bring neighbouring grain patterns together
Identify whether random grain variation is welcome or whether adjacent panels should form a coordinated sequence. Matching veneer leaves within one panel is different from matching a row of panels across a wall. A photograph of one sheet does not define either requirement.
AWI's wood-paneling aesthetic requirements distinguish different panel-set and matching arrangements. Use such distinctions to describe the intended result; adopting a particular grade or tolerance remains a project specification decision.
If sequence matters, mark panel numbers and orientation on the drawings and packaging schedule. Discuss how spare material will relate to the original faces. A later replacement from a different veneer batch may not reproduce the original colour and figure exactly.
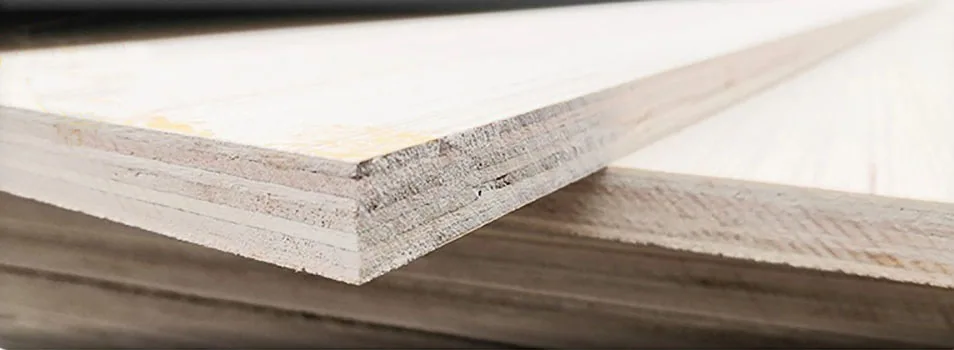
Plan corners, openings and service access
| Location | Design decision | Detail to coordinate |
|---|---|---|
| Outside corner | Exposed plywood edge, mitre or separate trim | Impact exposure and the appearance of both meeting faces |
| Inside corner | Butt joint, shadow line or trim | Site tolerance and the installation sequence |
| Socket or control opening | Position within the panel grid | Cutout clearance, face protection and access |
| Service hatch | Visible panel joint or concealed opening | Removal direction, fixing access and repeatable alignment |
| Floor junction | Recessed plinth or protective trim | Cleaning water and impact from equipment |
| Ceiling perimeter | Full panel, border or recessed joint | Support, edge restraint and access above the lining |
Coordinate the fixing system with the room
Wood-based panels respond to moisture conditions. The wall substrate, panel construction, finish and room environment all belong in the installation brief. Set the conditioning period and joint width using the selected panel and installation system's guidance.
WoodSolutions' interior panelling guidance discusses movement, fixing and access, and specifically cautions against adhesive-only ceiling installation. A ceiling needs a fixing arrangement suitable for its weight and support conditions.
Show where fixings engage the supporting structure. If concealed clips are proposed, account for the space needed to lift or slide panels into place. Trial the release beside neighbouring features such as door frames so the removable panel remains accessible.
See the finish in the intended light
Grazing light can reveal waviness, uneven sanding and changes in gloss that are hard to see under diffuse workshop light. Build a representative junction using the proposed finish, backing and fixing method. Include a corner or joint if it will dominate the finished view.
Review colour with nearby flooring, metalwork and fabrics. Decide what natural variation is acceptable before trying to make individual panels identical. For stained veneer, retain samples showing a reasonable colour range rather than only one unusually uniform piece.
Connect project performance with the chosen lining
Fire classification, emissions and acoustic performance answer separate questions. For projects using the European reaction-to-fire system, EN 13501-1 concerns classification from reaction-to-fire data. Check the supporting documentation and its application conditions for the proposed finish and assembly.
A plain decorative plywood sheet does not automatically provide a stated sound absorption rating. Perforations, backing material, cavity and mounting arrangement can change the acoustic result. If acoustic performance is part of the design, specify the assembly and evidence rather than borrowing a rating from another manufacturer's panel.
Plan installation, care and later replacements
Agree the delivery sequence, storage location and protection of finished faces. Numbered faces should remain traceable after protective wrapping is removed. Keep cutting dust and wet trades away from finished panels, and coordinate when openings and final trimming will be completed.
At handover, record the installed finish, approved cleaning method and how removable panels are released. Retain spare panels or agreed replacement information where continuity matters. This makes later service work less likely to damage an otherwise successful interior.
Bring us the room, layout and finish you have in mind
Send a room photo, elevation or finish reference through our enquiry form. We help develop the visible face, substrate, grain arrangement and edges from your design. Add the sizes, quantity and destination you have for a quotation, then connect the final drawing with the project's fire, acoustic or emissions requirements and installation scope. Our decorative plywood options provide a starting point for a coordinated finish across the interior.
Architectural interior panels buying questions
Can I start with a room photograph instead of a full elevation?
Yes. A photo helps us shortlist faces and grain arrangements. We develop the layout and sample with you, then use confirmed site dimensions and drawings for the cutting schedule.
Can the same veneer appearance be used on plywood and MDF?
Yes. We manufacture both substrates with decorative facings. Choose each construction for its role, then compare the finished faces and edges together where they meet.