
Plywood defect diagnosis starts with the feature that stops a sheet becoming a usable part. A blister, open bond line, glue mark or core gap can require a different response. Show us the part and where the issue appears; we compare its location, timing and material history, then connect the findings with the construction and sample checks for your next panels.
Birch plywood Decorative plywood Custom panels and parts
Show where the defect affects the part
Photograph the complete sheet, the affected area and a close view with a scale. Mark the face and back, sheet reference, distance from the edge and whether the problem repeats in a line, patch or scattered pattern.
| Observed symptom | Record first | Investigation route |
|---|---|---|
| Raised blister | Layer, size and when it appeared | Local separation and bonding history |
| Open bond line | Interface and surrounding wood | Bond formation and relevant testing |
| Glue mark on a face | Pattern and finishing stage | Penetration, transfer or surface contamination |
| Gap or overlap in a core | Position within the layer schedule | Veneer geometry and assembly |
| Bow, cup or twist | Shape, support and storage conditions | Balance, moisture and handling history |
A clear symptom record gives the investigation a useful starting point. Keep observations and proposed causes separate so the response addresses the affected part and the evidence available.
Locate the layer beneath a blister
A raised area may involve a decorative surface, an outer veneer or an internal interface. Identify that distinction before reviewing the process. Record whether the feature was seen after pressing, finishing, storage or later use.
For a bonding investigation, compare the local material condition, adhesive coverage, assembly timing and press record. The Wood Handbook chapter on adhesive bonding explains how wood surfaces, moisture, adhesive behaviour and pressing interact. A visible separation cannot identify which variable was responsible on its own.
Preserve an unaltered area and an unaffected comparison specimen from an identified sheet. Avoid treating extra pressing or a different glue mixture as a confirmed remedy before the separation has been examined and the proposed change evaluated.
Read the separation at the bond and wood
Look at where separation occurs: within a veneer, along an adhesive interface or through a combination of both. Record the appearance without declaring that every exposed wood fibre proves the complete sheet has passed its bonding requirement.
BS EN 314-1 specifies plywood bonding-quality test methods. Where that method is required, specimen preparation, pretreatment and loading conditions matter. A knife-pry observation and a standardised shear result answer different questions.
Compare the test result with the correct product requirement and retain the specimen identity. Our bond-strength testing guide explains the connection between measured shear performance and failure observations. Neither an adhesive trade name nor a casual soak substitutes for the agreed evidence.
Review glue marks with the intended finish
A mark attributed to glue may be penetration through a veneer, adhesive transferred onto the face during handling, or a different contaminant revealed by finishing. Note whether it was visible on the unfinished panel and how it changes under the proposed coating.
Compare the face construction, application record and location of the mark. A repeated line beside a joint gives a different clue from random surface spots. Keep a sample before cleaning or sanding removes the original evidence.
For thin decorative faces, aggressive sanding can change thickness or appearance without resolving the underlying cause. Assess any proposed repair on a separate representative piece, using the intended finish. Agree the required visual result rather than assuming every mark can be removed invisibly.
Check core gaps at visible edges and joints
Identify the layer and the extent of a gap or overlap. Distinguish an isolated feature exposed by one cut from a pattern repeated across several components. Include cut orientation and the distance between observations.
Review veneer edge preparation, joint arrangement, lay-up alignment and handling between operations. Our lay-up control guide shows the records that connect an assembled panel to its layer schedule.
Judge the measured feature against the specified construction and use. An exposed furniture edge, a routed joint and a concealed panel can have different requirements. A sample cut at the intended location helps connect the core requirement with the appearance and fit of the finished part.
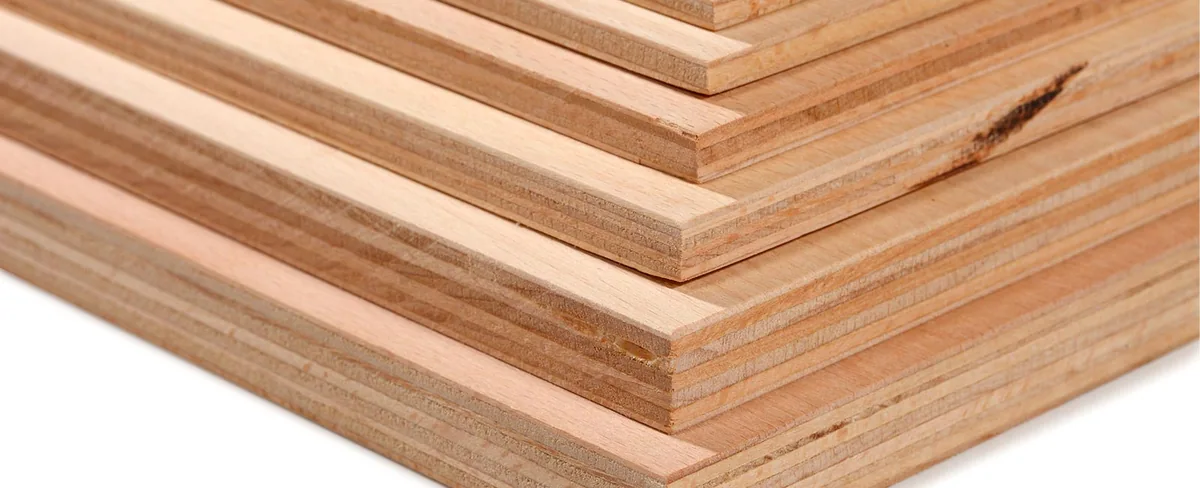
Compare panel shape under consistent conditions
Record whether the sheet bows along its length, cups across its width or twists between corners. State how it is supported during measurement, which face is uppermost and when packaging was removed.
The Wood Handbook's moisture-control guidance connects changes in wood moisture with dimensional behaviour. For a panel investigation, compare storage exposure and both faces as well as the layer construction.
A sheet resting on uneven supports should not be compared directly with one measured on a defined flat reference. Also distinguish the supplied sheet from a component that has since been routed or finished on one side. Those histories help determine which comparison is meaningful.
Try the correction on a representative part
Choose the suspected variable from the evidence and describe what a successful correction would change. Keep the construction, material group and inspection method consistent enough for the comparison to be useful.
For example, a trial intended to reduce face marks should record the visible result after the same finishing process. It should also retain the required bond and thickness checks, so that improvement in one feature does not conceal a loss elsewhere.
Use the applicable process instructions for any adjustment and record the trial outcome before changing the regular specification. The useful correction is one that improves the identified feature while retaining the required bond, dimensions and finish.
Start with your part and a clear photograph
Start with a photo of the whole part and a close view of the affected area, and tell us when you first saw the issue. Add the order or sample reference and affected quantity if available. We can then connect the observation with the construction, cutting, finishing and storage history.
Keep affected pieces identifiable while the issue is reviewed. A retained comparison from the same delivery can be more useful than an unrelated sample that merely looks similar.
Share the panel details and observations with us. A clear record helps us review the relevant material requirement and the evidence needed to resolve the specific concern.
Plywood part quality buying questions
Can a photo identify the exact cause of a defect?
A photo helps locate and describe the condition. The cause may also need a retained piece, comparison material and production or handling history; we use the observation to decide the next useful check.
How can I compare a proposed correction?
Use a representative sample with the same cutting, joint or finishing process as your part. Compare the affected feature while also retaining the relevant thickness and bond checks.