
Plywood lay-up control helps turn the chosen veneers into a consistent board for your finished parts. Layer direction, alignment, glue coverage and assembly timing all affect the construction that reaches the press. Show us a current component or the edge you want to achieve; we can connect its fit and appearance with the face, core and finished-thickness requirements.
Birch plywood Decorative plywood Custom panels and parts
Build the layer schedule around the finished part
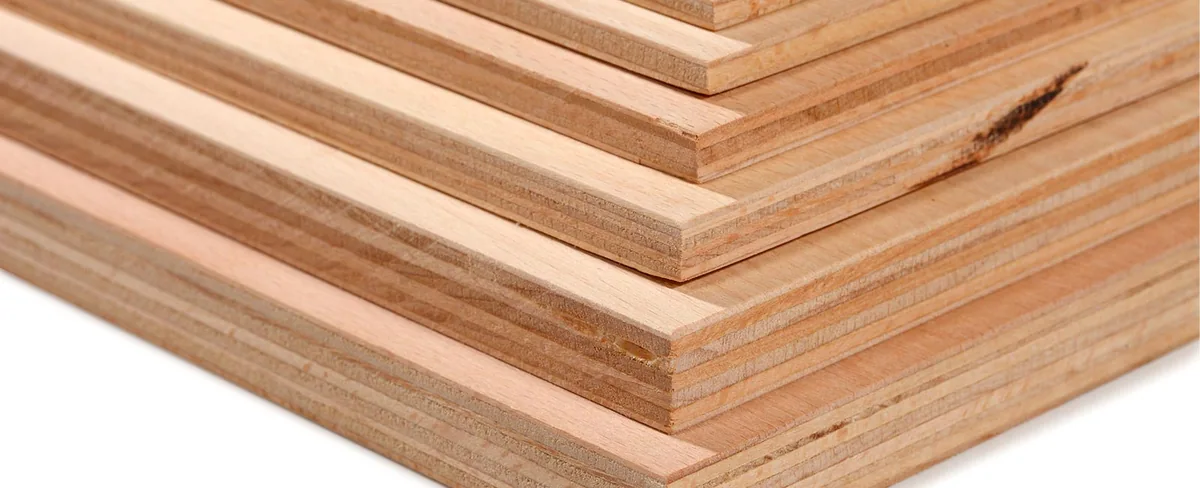
For a repeatable component, identify each layer as well as the finished thickness. The schedule distinguishes the selected face, longitudinal and cross veneers, and back, with the applicable material and repair requirements. This connects the visible edge and internal construction to the part you approved.
Keep the face, long-core and cross-core veneers in the order specified by the panel construction. Check the assembly against that layup whether the operation is manual or automated.
| Field | What it prevents |
|---|---|
| Layer position and direction | Missing, duplicated or incorrectly rotated veneers |
| Species and nominal veneer thickness | Unrecorded construction substitutions |
| Grade and repair requirements | Using a face or core outside its intended role |
| Adhesive application instruction | Unclear coated surfaces or interfaces |
| Recipe reference and revision | Mixing instructions from different constructions |
A change to the schedule needs an identified revision. A handwritten substitute that never reaches the finished-panel record is difficult to investigate later.
Keep layers balanced and aligned
Balance concerns the material, direction and thickness of layers on either side of the centre. Checking those pairs alongside the ply count helps keep the intended construction consistent when sheets are cut into doors, shelves or other components.
Check veneer condition and alignment as the lay-up is formed. A displaced piece may create a local shortage after trimming even when the overall stack looks complete. Record the relevant edge allowance and joint requirements in the construction instruction.
Check that the correct veneer layers reach the assembly and that their alignment matches the construction instruction. Keep the panel recipe and layer identity clear through lay-up.
Apply adhesive consistently across each interface
The Wood Handbook chapter on adhesive bonding explains that spread requirements depend on the adhesive, wood, surface condition, moisture and assembly conditions. Applying adhesive to one or both surfaces also changes how a spread figure must be interpreted.
A record in grams per square metre should state whether it means wet mixture, the coated area and the number of coated sides. Without that basis, two apparently different figures may describe the same interface, or two matching figures may represent different applications.
For a check, identify the material before and after application, the area used in the calculation and the sampling time. Keep glue mixture identity and preparation time linked to the lay-up. Do not use extra spread as an unexplained correction for gaps or a damaged veneer surface.
Keep assembly timing connected to the bond
Open assembly time concerns the interval with the coated surfaces still apart; closed assembly time concerns the interval after they meet and before the specified pressing endpoint. Adhesive condition can change during both stages, so closing an assembly does not reset its earlier history.
| Event or interval | Example record |
|---|---|
| Adhesive applied | 09:00 |
| Opposing surface brought into contact | 09:08 |
| Defined pressure endpoint reached | 09:20 |
| Open / closed / total elapsed time | 8 / 12 / 20 minutes |
These numbers explain the record, not allowable limits. Use the adhesive and process instructions to define the actual endpoints and permitted times. For multiple interfaces, retain the earliest relevant application and assembly information rather than recording only the last veneer placed.
Protect the assembly on its way to the press
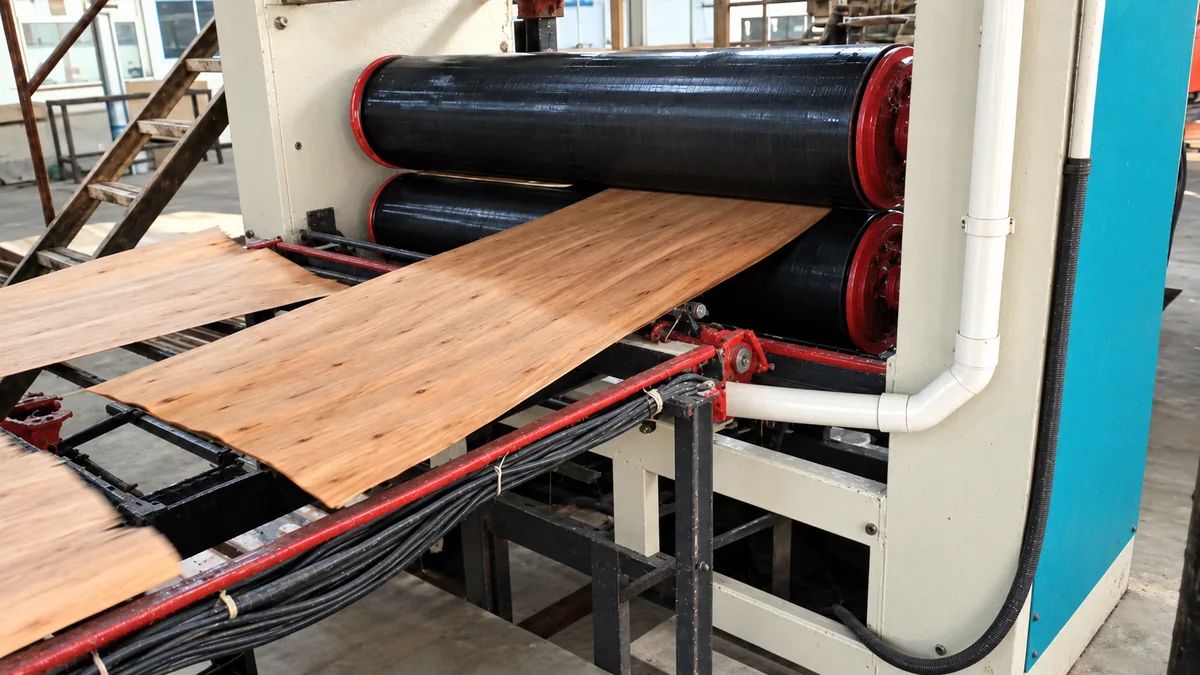
Where the process includes prepressing, distinguish handling consolidation from final bond cure. A lay-up that holds together during transfer has not thereby demonstrated its final bonding performance.
Record prepress entry, release and the subsequent transfer interval as required by the process. If initial pressure occurs in the prepress, do not silently treat the later hot-press loading time as the same timing endpoint. The instructions need to describe both stages.
Inspect for displaced veneers or handling damage before the next operation. Our cold-pressing and hot-pressing guide explains the different purposes of consolidation and heat-assisted curing.
Match the press instructions to the construction
The receiving press operation needs the construction reference, adhesive system, material condition and the approved process instructions for that panel. A recipe for a thinner panel or a different adhesive cannot be assumed equivalent.
State how the process measures time, temperature and pressure. A hydraulic gauge reading is not automatically the pressure applied per unit panel area. Use the machine's documented relationship and the actual loading arrangement rather than copying a pressure number from an unrelated example.
Keep deviations and interruptions visible in the batch record. When investigating a result, distinguish a recipe that was selected incorrectly from a correct recipe that was not achieved during the cycle.
Check the thickness your joint or fitting needs
Finished thickness is measured on the board at the agreed delivery stage. Pressing, material condition and subsequent sanding or calibration change the sum of nominal veneer thicknesses, so a fitted joint needs the final panel measurement.
Define when thickness is checked and at which locations. Keep the finished target and tolerance separate from any process allowance. Sanding can correct specified surface or thickness conditions within a process, but it does not automatically upgrade the internal construction or repair an inadequate bond.
For routed joints, edge banding or a tightly fitted component, begin with the current part, fitting or drawing. We help define the finished thickness and machining detail so the sample can be checked in the assembly you use.
Carry the agreed construction into delivery checks
A completed process log demonstrates what was recorded, while panel inspection and testing address the resulting product. Keep those forms of evidence connected without treating one as a replacement for the other.
BS EN 314-2 addresses plywood bonding-quality requirements. Where specified, identify the applicable requirements and associated test method, specimens and conditioning rather than calling a casual water soak a certification.
Discuss your plywood construction and acceptance requirements with us. Start with your component or edge reference. We help settle the construction and sample, then add dimensions, quantity and any required bonding evidence to the order.
Plywood layer construction buying questions
Is ply count enough to define a repeat order?
Keep ply count with veneer species, thicknesses, directions, face and back requirements. The layer schedule and approved sample together describe the construction more clearly.
Can I start with a tight-fitting joint?
Yes. Share the fitting, current part or drawing. We can discuss the finished thickness and sample checks around the clearance the assembly needs.