
Choose woodgrain melamine for the look you want across your doors, drawers and furniture panels. Start with a room photo, a woodgrain reference or a simple sketch. PanelSource manufactures MDF and plywood and applies decorative facing in our own factory; we help choose the core, pattern scale, grain direction and matching edges. The layout guidance below carries your selected finish through cutting and into the assembled furniture.
Woodgrain melamine MDF Woodgrain melamine plywood Furniture MDF components Browse colour references
Choose a wood effect on MDF or plywood
An oak-effect melamine face describes the appearance of the decor, not proof of an oak core or a natural oak veneer. The underlying panel may be MDF, plywood or another specified substrate. State both the surface and the core in the order. Our woodgrain melamine MDF and woodgrain melamine plywood are separate product routes for that discussion.
The Composite Panel Association's TFL overview explains the direct fusion of resin-impregnated decor paper to a substrate and the use of press plates to create surface texture. The printed image and the tactile texture are related selections, but they are not the same thing.
See the woodgrain at the size of your part
A small sample can show colour and pore texture while missing a large knot, cathedral pattern or transition between light and dark areas. Ask to see enough of the decor to understand its scale on the intended part. Compare it with a door elevation, not just with the dimensions of the sample.
For a narrow drawer front, a large feature may be cropped at its most noticeable point. On a broad wardrobe door, a repeated motif may become the main visual feature. Neither result is necessarily a defect, but it should be an intentional part of the selection.
Confirm the chosen woodgrain decor’s repeat and surface texture. A printed woodgrain is not necessarily repeat-free, and an embossed texture does not necessarily follow every printed feature.
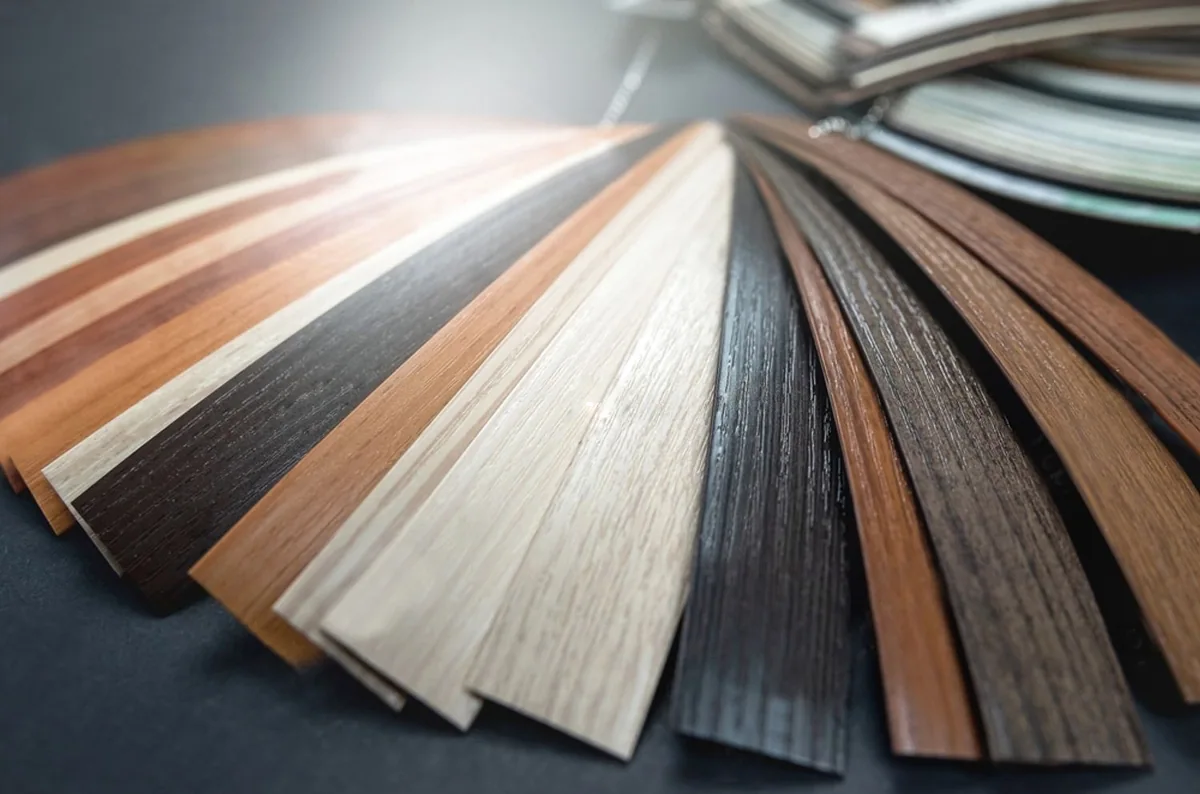
Mark the installed grain direction on every visible part
On a drawing, identify whether the print runs along the height or width of a part in its installed position. Part length alone is insufficient: a horizontal rail and a vertical side may have similar cut dimensions but different visual orientation. Mark the visible face, top or reference edge and part ID so the instruction survives cutting and assembly.
Rotating a part by 90 degrees may improve material yield while changing the intended look. Even a 180-degree rotation can alter how a directional pattern relates to neighbouring panels. Specify whether rotation is permitted for each group of parts rather than allowing the nesting plan to decide silently.
Choose matching decor, grain direction or a continuous layout
| Requirement | Expected result | Information needed before cutting |
|---|---|---|
| Same decor | Parts share the selected finish family | Decor and texture references; individual part orientation |
| Consistent direction | Visible grain runs in the agreed installed direction | Elevation, face marking and rotation restrictions |
| Continuous layout | Related parts retain a planned relationship within the sheet image | Parent-sheet layout, cutting allowances, part sequence and visible gaps |
Same decor does not promise that a knot continues across a joint. Continuous layout is a separate cutting requirement. A mirrored wood effect is also not automatically natural veneer bookmatching: a printed design may create a similar appearance using a different production method. Describe the visual result with a drawing or sample.
Plan a drawer stack as a set
Consider three drawer fronts intended to appear as one woodgrain field interrupted by two gaps. Label them top, middle and bottom on the elevation, identify the grain orientation, and keep the parts associated in the cutting plan. Include the finished dimensions, edge thicknesses, saw kerf, trimming allowance and installed gaps when deciding which areas of the sheet will be retained.
Cutting three identical rectangles from convenient offcuts will not reliably preserve that relationship. Nor should a continuous layout be described as perfectly uninterrupted: cutting removes material and installed gaps separate the parts. Agree the intended appearance of the assembled set rather than judging each loose piece in isolation.
If one front is damaged during machining, identify its set before using a spare. A spare with the same decor may be a good colour match but show a different part of the print. For projects where this matters, discuss replacement groups and retained material when setting the order quantity.
Include matching constraints in the material estimate
A realistic nesting calculation uses the usable sheet area after edge trimming, the tool kerf and the permitted part orientations. Continuous groups and selected-pattern areas further restrict the layout. An area-only calculation cannot establish how many sheets a directional furniture order will require.
For example, a long visible side may need to remain parallel to the print direction even if it would fit more efficiently across the sheet. Tell us which hidden components can use a different orientation or decor. This allows a useful cost discussion without compromising the specified visible faces.
Review the edge as a separate surface
The face print ends at the cut edge. Matching edge material needs its own colour, print scale, texture and gloss selection. Inspect a finished corner to see the trimmed edge and bond line. A loose matching strip cannot show all of those processing details.
State whether the edge should blend with the face, contrast with it or create an end-grain effect. Compare that relationship on the actual panel and edge band.
Protect the pattern during processing and replacement
Keep part labels on packaging or another agreed location that will not damage the decorative face. Preserve the sequence while moving cut parts between operations. Check for chips and scratches before assembly, when a replacement can still be matched to its group.
A printed melamine surface cannot be sanded and refinished like a thick piece of timber without changing the decor. Do not use a wet cloth and hot iron as a general repair method. Identify whether the problem is a face chip, loose edging or swollen core, then agree a repair or replacement appropriate to that condition. Our damage-assessment guide helps separate these cases.
Start with your woodgrain idea or furniture sketch
Show us the furniture layout or a photo of the woodgrain look you want. We help select a reference, compare MDF and plywood, and plan whether adjoining fronts need a shared grain direction or a continuous layout.
When you have them, add sizes, quantities and destination through our enquiry form. We work through matching edges, part sequence and the cutting plan with you. Our custom-size service covers the component dimensions and processing included in the order.
Woodgrain melamine buying questions
Can I choose a woodgrain from a room photo?
Yes. A photo helps us shortlist a woodgrain reference and texture. Use a physical sample at a useful scale to settle the appearance before production.
Can adjacent doors keep a planned grain relationship?
Yes. Show the installed layout and identify the matching group. We plan the sheet layout, cutting allowances, sequence and edges around the agreed appearance.