
Start a bending-plywood project with the curved furniture or interior detail you want to make. Send a sketch, photo or measured drawing; we help develop the bend direction, facing and panel construction. Before production, the drawing records the finished curve and the sample confirms how the selected layers form it. You can begin with an idea and work through those details with our factory team.
Flexible plywood Flexible MDF for curved details Custom panel sizes
Mark the inside or outside of the finished curve
Mark the radius as inside, outside or another clearly defined reference surface. Show whether it describes the raw substrate or the finished veneer, laminate or coating surface. For a cylindrical casing, distinguish radius from diameter: a 400 mm inside diameter corresponds to a 200 mm inside radius. That arithmetic does not establish whether a particular panel can make the bend. It simply prevents two parties from quoting different shapes under the same number.
Show how the flat sheet becomes the curve
Draw the flat blank with its long and short sides, then show the intended curved form. Mark which dimension runs around the curve and which remains straight. Confirm the bending direction with a marked sample rather than relying only on a long-grain or cross-grain shorthand.
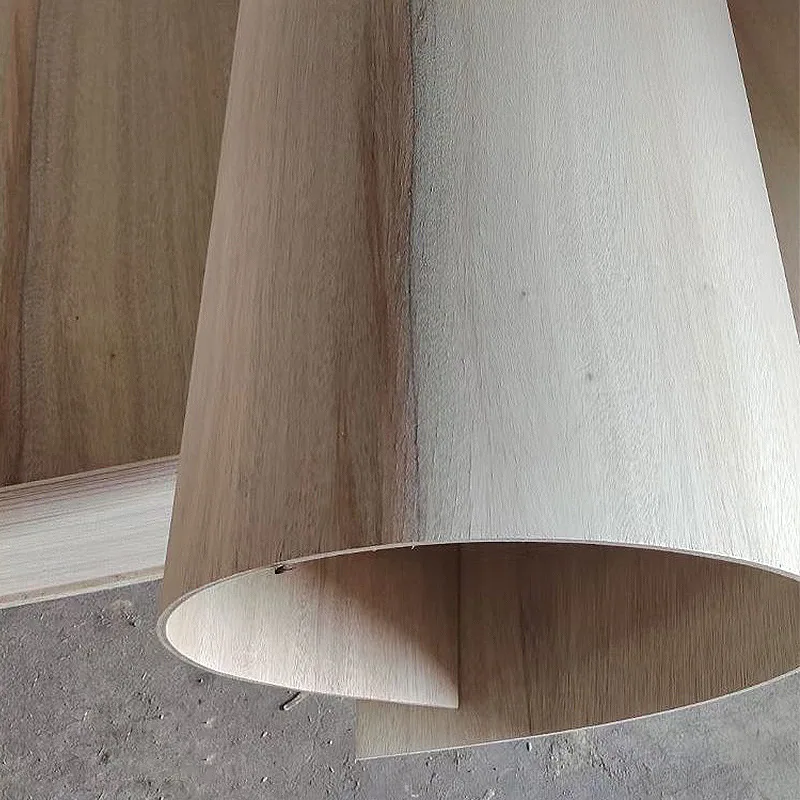
Describe the whole shape you want to make
A constant-radius arc can be described with its radius, included angle or full-size template and straight dimension. A tapered column, changing-radius desk or twisted panel needs additional sections and datums. Identify the tightest local radius and the transition back to flat areas. US Forest Service guidance notes that plywood's achievable curvature depends on grain, plies, species, moisture and forming technique. A trial of a simple cylinder does not validate every part of a compound surface.
Bring the substrate and decorative facing together
List each flexible layer, adhesive line and facing in order from inside to outside. Several thin layers formed together make a different component from one thick sheet. The outside layer follows a larger radius than the inside layer, and the facing may have its own forming limit. State the desired finished thickness, tolerances and trimming allowance. For a veneer-faced desk, include grain direction across the complete fascia and how joins or returns will be finished.
Choose a trial radius for the selected construction
A recommended bend radius belongs to a particular construction, thickness, direction and forming condition. State whether it concerns the un-faced sheet or the finished laminated assembly, and assess visible damage and springback on the proposed construction.
| Drawing field | Specify clearly | Problem prevented |
|---|---|---|
| Radius | Inside/outside; raw or finished face | Wrong final geometry |
| Orientation | Sheet edges, bend direction, cylinder axis | Wrong grain configuration |
| Shape | Sections, tightest radius, flat transitions | Untried local bend |
| Build-up | Each layer, adhesive, decorative face | Thickness and facing mismatch |
| Support | Frame or laminated shell detail | Uncontrolled movement |
| Acceptance | Template, surface, springback and tolerance | Disagreement after forming |
Try the complete curve before production
Use the proposed thickness, orientation and facing on the intended former or a representative template. Inspect both faces and edges during bending for splits, local kinks or ply separation. If the component will be laminated, inspect the complete bonded sample after the adhesive's specified cure and after release from the form. Record the free shape as well as the clamped shape. Measuring after release shows the final radius as well as the shape held in the jig.
Keep the approved sample and drawing together
Record product identity, batch or sample ID, dimensions, marked orientation, conditioning, layer schedule, adhesive, former and measurement method. Agree how much springback, edge damage, surface waviness and radius variation are acceptable for the visible component. EN 324-1 provides a method for measuring flat-panel dimensions; the finished curved part also needs the project-specific template or dimensional checks. Retain the sample and revision with the order.
Keep the bend direction clear through delivery
Label bend direction and part identity so a fabricator cannot unknowingly rotate a blank during nesting. Support sheets during storage and transport to avoid kinks before forming. A later change of veneer source, layup, facing or adhesive may justify a new trial even when the nominal thickness stays the same. Agree quantities by part, useful blanks, spares and packing configuration rather than order only by total square metres.
Share your sketch with our factory team
Start with the curved part you want to make through our enquiry form. Email detailed drawings to sales@plywoodsupplier.cn with your company name. We help develop the curve, panel construction, finished build-up and sample criteria, including machining requirements. Add quantities, destination and required grade evidence as the order takes shape. For the production sequence after approval, use our forming-process guide.
Bending plywood specification buying questions
Can I send a photo before I know the radius?
Yes. A photo or sketch helps us understand the intended shape. We work towards a measured drawing and representative sample before production.
Is there one minimum bending radius for every thickness?
No. Direction, panel construction, facing and forming method affect the usable curve. The sample uses the selected materials and checks the finished shape after release.