
Moisture-resistant MDF and suitable plywood provide useful options for kitchen and bathroom cabinets. MDF suits painted or routed fronts; plywood offers veneer faces and layered construction for cabinet parts. Choose each around its location, from a dry wall cupboard to a sink base, vanity or plinth. We manufacture both substrates in our own factory and help develop the decorative faces, protected openings, cut sizes and processing for your cabinet layout.
Moisture-resistant MDF Moisture-resistant melamine MDF Melamine plywood
Choose panels for each cabinet location
A wall cupboard, sink base and dishwasher surround each give the panel a different job. Identify likely water paths, cleaning methods, heat sources and service access on the drawings. Consider what happens during normal use as well as where a leak would be noticed.
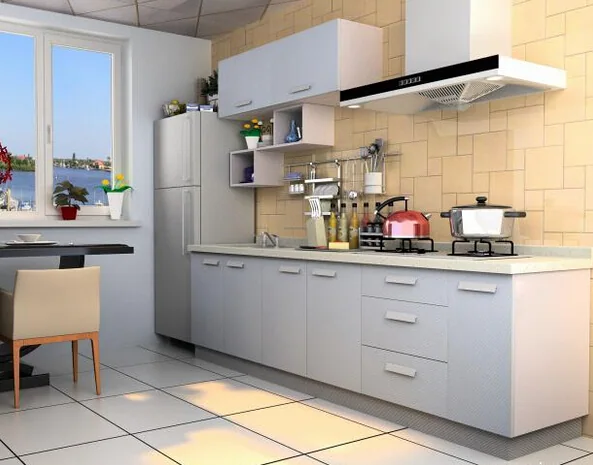
| Location | Exposure or duty | Detail to resolve |
|---|---|---|
| Sink base | Pipework, occasional splash and possible leaks | Protected openings, accessible plumbing and a visible inspection route |
| Dishwasher surround | Appliance-specific heat, moisture and ventilation | Clearances and protective details required by the appliance supplier |
| Painted door or drawer front | Handling, wiping and local edge wear | Profile preparation, coating and hardware attachment |
| Vanity unit | Basin junctions and bathroom cleaning | Top-to-side joint, service cutouts and separation from standing water |
| Plinth or low end panel | Mopping, impacts and floor irregularities | Floor junction, replaceability and cleaning access |
Plan the sink base around the plumbing
Mark the positions of supply pipes, waste connections and shut-off access. A large opening cut during installation can remove a protective surface and change the cabinet's support or bracing. Show the intended cutouts before fabrication and specify how newly exposed edges will be treated.
Keep connections accessible for inspection and repair. A properly detailed liner or tray can help manage a local spill. Plan workable joints, access around pipes and a way to spot and repair leaks.
For MDF, select the moisture-use grade alongside the surface. For plywood, identify the bond and veneer construction. Then coordinate the melamine or veneer face with the edge and opening details.
Fit the panels around the selected appliances
Use the installation instructions for the selected dishwasher, oven and other appliances to establish ventilation, clearances and protective components. Keep the appliance model and its installation requirements with the cabinet drawing.
Pay attention to the underside of a worktop and adjacent edges where moisture may collect. If a worktop or side panel is trimmed on site, identify who restores the required protection. The panel choice and the appliance installation must remain compatible after those adjustments.
Record moisture, heat and any fire requirements as separate parts of the installation information. The selected appliance’s clearance and ventilation instructions guide the surrounding panel detail.
Create the door and drawer-front finish you want
MDF can be considered for painted profiled fronts, while plywood can provide a wood face or exposed layered edge. The design still needs an appropriate construction, back treatment, finished weight and fitting arrangement. Include the whole door and its fittings when reviewing alignment and operation.
The European Panel Federation describes MDF door and drawer-front fabrication options. Use the intended profile and finish in the sample: include the routed handle or recessed detail so its coated appearance can be reviewed.
Review cleaning expectations with the surface supplier. EN 12720 concerns liquid resistance of furniture surfaces. Review surface liquid resistance alongside the core’s moisture response and the protection of holes and seams.
Detail the plinth and floor junction
Low panels may receive water from cleaning even where the cabinet contents remain dry. Design the junction so that an exposed cut edge is not left in recurring contact with a wet floor. Identify any protective foot, trim or removable plinth arrangement and how it will be cleaned.
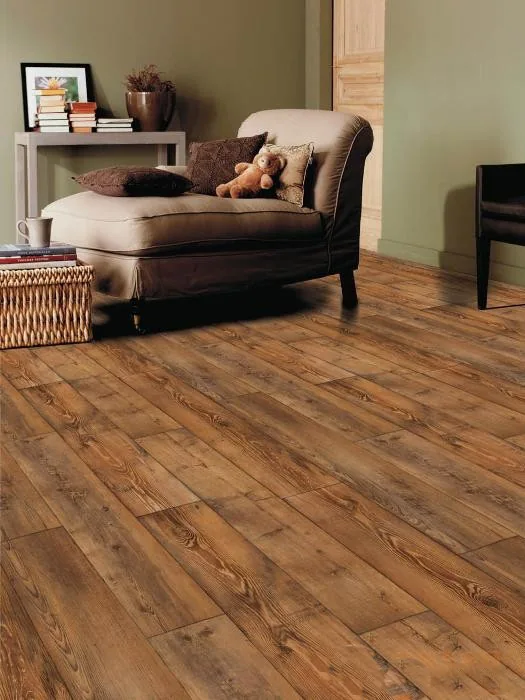
Keep the flooring and cabinetry specifications coordinated at this junction. Flooring wear and any underfloor-heating requirements belong with the flooring system; access to services remains part of the cabinet layout.
Bring the board grade and water protection together
EPF explains that MDF exchanges moisture with its surroundings and changes dimensions. A moisture-resistant type can suit a defined humid interior application when the finished detail also addresses joints, exposed edges and plumbing access.
Plywood selection also brings the bond and water protection together. For repeated wetting or direct shower exposure, develop a complete system intended for that condition, including the substrate, edges and installation.
Coordinate fittings, cabinet support and installation
Large doors, loaded drawers and wall-mounted cabinets need suitable fittings and attachment details. Verify that machining leaves adequate material for the selected connectors. Assess connections and unit loads alongside the moisture requirements.
EN 14749 covers safety requirements and tests within its domestic storage scope. The supporting building wall and its attachments need their own consideration; assess the installed wall cabinet with those supports and connections included.
Sample a sink opening or cabinet junction
Choose a representative junction from the drawing, such as a pipe opening in the sink base or a low end panel meeting the plinth. Use the proposed core, surface, reverse and edge detail, and show how the opening remains accessible. Our cut-list guidance helps identify the part and machining; sample guidance helps agree which protection and finish the sample includes. Use the detail sample to review fit and workmanship, with any required leak or complete-cabinet tests arranged for their defined scope.
Before quotation, mark which openings and protective details are supplied and which the installer will complete. Record who restores cut-edge protection after site adjustments and keeps appliance clearances and service access workable. Request product documents for the identified panel construction, then carry the drawing revision and sample reference into the order specification and receiving checks. Keep the panel evidence separate from the surface, appliance and assembled-unit requirements explained above.
Check the finished cabinet details at handover
Check cut edges, pipe penetrations, top joints, appliance interfaces and the operation of drawers and doors. Record the panel and finish references, cleaning instructions and access procedure. If damage appears later, first locate the moisture source before deciding whether cosmetic repair or panel replacement is appropriate.
Start with a kitchen layout, vanity photo or finish reference through our enquiry form. Mark sink units, appliance surrounds and low panels separately so we can develop the panels, sizes, processing and sample details for each part with you.